AP CSA Tri 2 Final Project Blog
This was both super super fun but also incredibly frustrating at times 😂
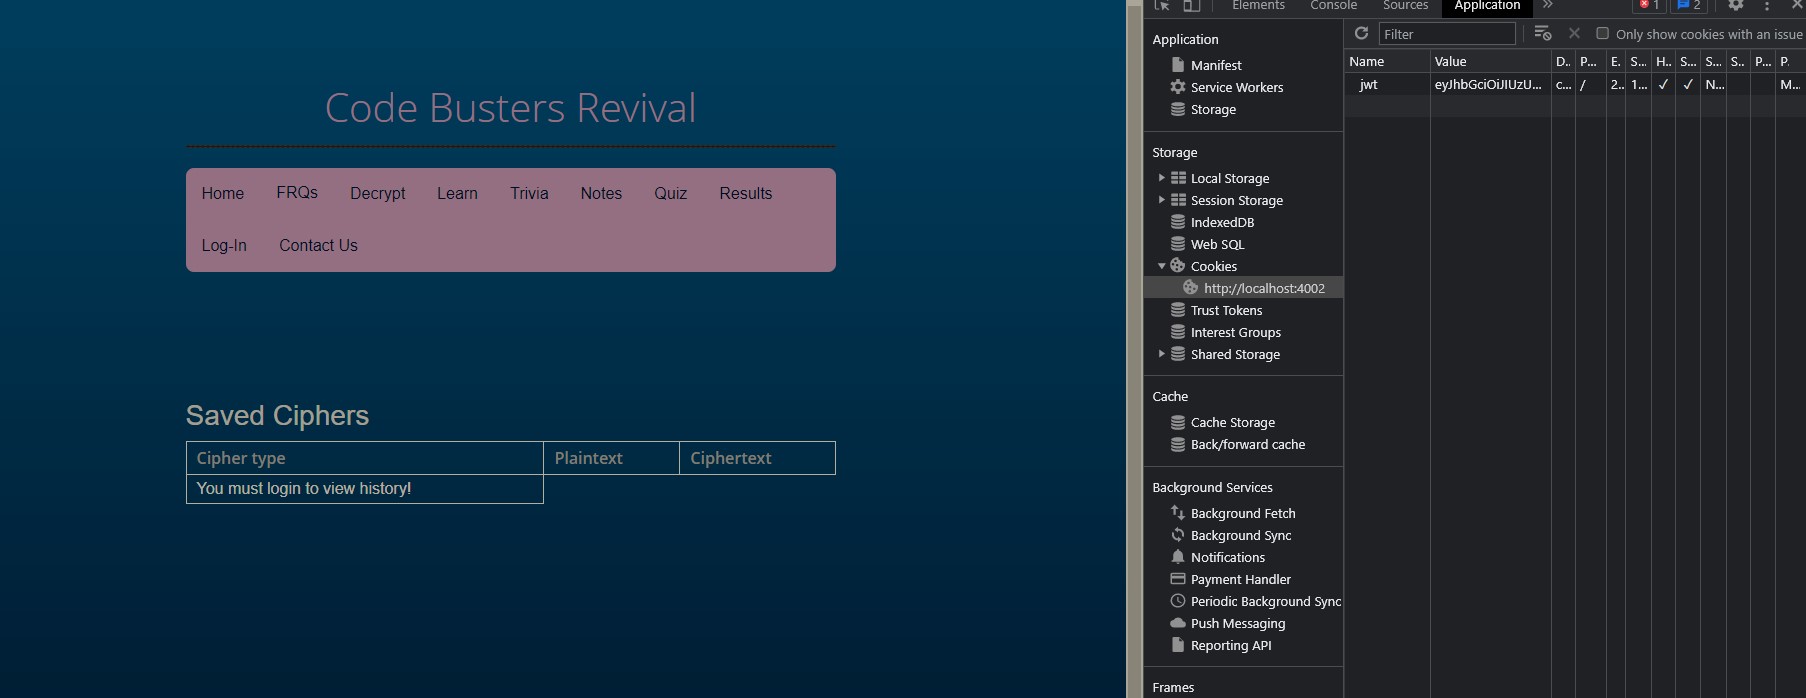
The theme of our project was ciphers. Our website consists of features that include a login, an area where the user can view/change their settings, decryption, learning about ciphers, trivia, notes, and quiz.
The parts that I worked on was the login, JWT, CRUD for users, roles, and part of the log
In the sections below, I will document what I did to create these features and some interesting things that I learned.
Login and JWT
This was the part that was the most frustrating for me. I spent around ten hours trying to get JWT to work. I kept having CORS errors, and I tried a variety of fixes such as changing Access-Control-Allow-Origin in SecurityConfig.java on the backend, and continuously editing the Nginx file.
I guess I can say that what I gained from this was really understanding the Nginx file and JWT.
In the end, I was able to fix the CORS errors by asking Mr. Mortensen. I learned that to save a cookie on the frontend, the most important thing was that you need to redirect to another page. By looking through the debugger in Chrome Dev Tools, apparently the cookie is only added in once the frontend page changes.
This is the critical piece of code on frontend:

CRUD for users
The part that I worked a main part on this project is users, and I implemented CRUD features onto users.
First is creating users. On the login page, there is a button that allows a user to create an account:

After that, you can create a user. Enter in an email, password, name, and birthday. I implemented error checking on the frontend through Javascript. My code checks to see the values of the password and confirm password input box, and compares them. If they are not the same, a message is displayed.
function signup() {

    document.getElementById("passwordMsg").innerHTML = "";

    var password = document.getElementById("password").value;
    var password2 = document.getElementById("password2").value;

    console.log(password);
    console.log(password2);

    if (password == password2) {
        console.log("Match");
        createUser(password);
    } else {
        console.log("No match");

        var p = document.createElement("p");
        var msg = document.createTextNode("Passwords do not match. Please try again");
        p.appendChild(msg);
        document.getElementById("passwordMsg").appendChild(p);
    }

}
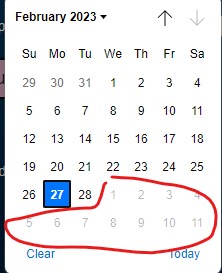
A little extra research that I did was to find a way to input a valid date of birth. Clearly, no one is born in the future. Using Javascript, I created a Date object and obtained the first parts of the current date in YYYY-MM-DD format. I then set an attribute on the date input box and used the date as the max day.
As a result, the calendar looks like this:
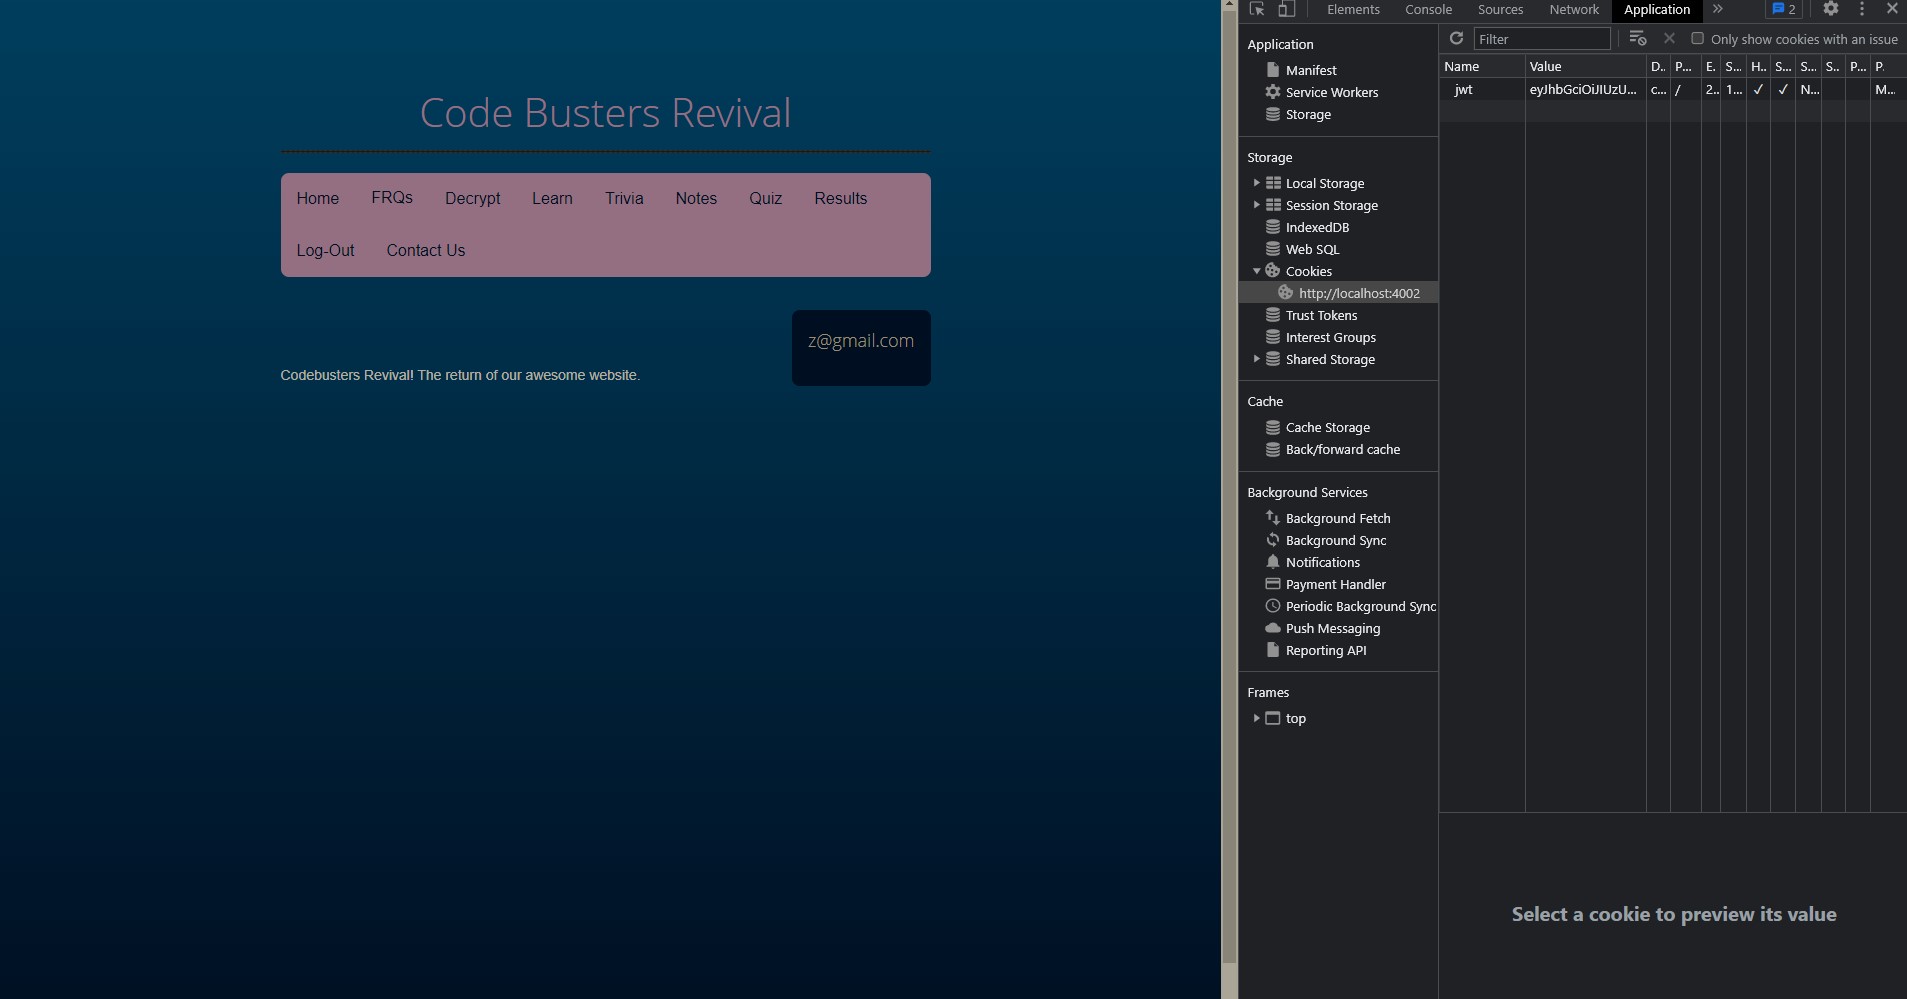
The backend also shows that the user that I created (username: z@gmail.com) was successfully created:

After the user is created, you can login with the new credentials. This is what the homepage looks like, and you can see that on the right, a cookie was sucessfully created.
The second aspect of users that I implemented was Read. For read, I accessed the backend url of https://crimebusters.tk/api/findEmail/. This was something that I spent quite some effort in creating, because originally, I did not know how to get information from the cookie.
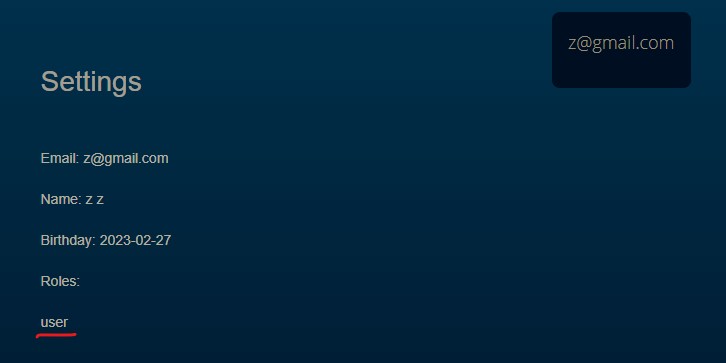
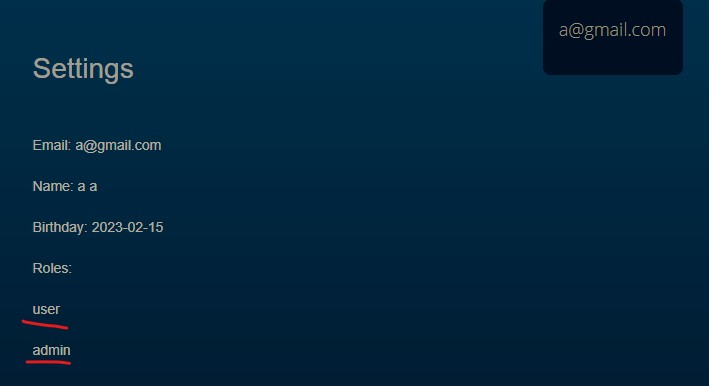
In the end, I used some code from JwtRequestFilter.java that obtained information from the cookie using HttpServletRequest. All I needed to get was the email. I could then search through the JpaRepository using the email and obtain the person object. With the person object, I had access to all of the information. I could then use getters to obtain user information to display on the Settings page, such as the name, birthday, and user roles.
In the image below, I circled the code in red of how I got the email and subsequently created the person object.
In the update section of my user, I sent a POST request to the backend to update a specific user. My code on the backend looks like this:
 Optional<Person> person1 = repository.findById(person.getId());
        //SO THIS IS THE PIECE OF CODE TO CHANGE TYPES!!!!!!
        Person person2 = person1.orElse(null);

        //debugging
        System.out.println("person2: " + person2);


        //update user info only if info is provided
        if (person.getEmail() != null) {
            person2.setEmail(person.getEmail());
        }

        if (person.getName() != null) {
            person2.setName(person.getName());
        }

        if (person.getPassword() != null) {
            String password = person.getPassword();
            password = BCrypt.hashpw(password, BCrypt.gensalt());
            person2.setPassword(password);
        }

        if (person.getDob() != null) {
            person2.setDob(person.getDob());
        }

        if (person.getLoginStatus() != null) {
            person2.setLoginStatus(person.getLoginStatus());
        }

        return repository.save(person2);
A few things that I learned:
- First of all,
repository.findById(person.getId())returns an Optional, unlikefindByEmailwhich returns a Person object. This stumped me for awhile because I really really wanted to get the Person object since I couldn’t get information from an Optional. After StackOverflowing, I found that I could create another Person object (person2), and then useperson1.orElse(null)to get the object. What’s next is basically using setters to update info onto person 2. The JpaRepository then saves this person 2 object (which is the original person object but modified), and that’s how update works! - I feel like I had something else I learned but all of a sudden I can’t remember. I’ll post here when I do remember (hopefully) (Ohhh I remember now, it had something to do with GetMapping and bad output. I’ll post about this tomorrow because it’s currently 11:28 and I want to sleep :()
The last thing that I have is Delete. Sending a delete request using fetch didn’t work for me, so instead, I changed my endpoint on the backend to Get, and sent a get request.
Roles
Now onto the fun stuff. Roles required me to do a lot of outside research.
First of all, the many to many relationship. The tricky part about roles is that sometimes, you want a user to have multiple roles. As a result, you can’t just make a simple roles variable and save it in the database. You need a many to many relationship (because one user can have many roles and a role can have many users).
I watched a helpful video that showed how to implement many to many in Spring Boot.
In my Person POJO:
@ManyToMany(fetch = FetchType.LAZY, cascade = CascadeType.ALL)
    @JoinTable(
        name = "person_person_roles",
        joinColumns = @JoinColumn(name = "person_id", referencedColumnName = "id"),
        inverseJoinColumns = @JoinColumn(name = "person_role_id", referencedColumnName = "id")
    )
    private Set<Personrole> personrole;
In my Personroles POJO:
  @ManyToMany(mappedBy = "personrole", fetch = FetchType.LAZY)
    private Set<Person> person;
So anyways, at the end, my database looked like this:
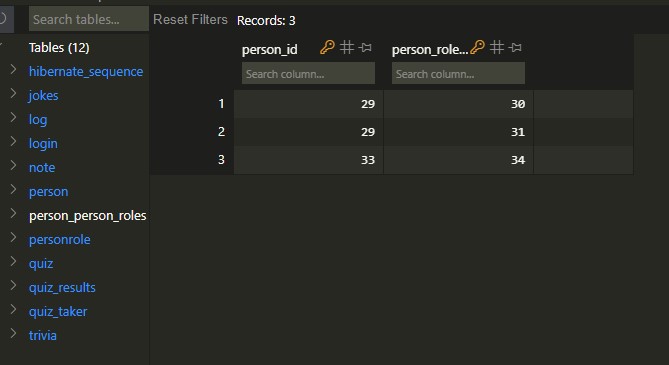
This person_personroles table is called a Join Table. Why do we need this table? The reason is because a many to many relationship actually requires two sided one to many relationships. In this example, the same person_id (29) can be mapped to different person_roles.
As a result, while z@gmail.com only has the role User,
user a@gmail.com has both the role User and Admin.
Now onto the cool part. When the user is not logged in, I created an anonymous user that doesn’t have permission to access certain pages. This was achieved on the backend file of PersonDetailsService.java. By finding the role of the user through JWT, either user, admin, or anonymous role is assigned to the user:
 person.getPersonrole().forEach(role -> { //loop through roles
            //authorities.add(new SimpleGrantedAuthority(role.getEmail())); //create a SimpleGrantedAuthority by passed in role, adding it all to the authorities list, list of roles gets past in for spring security
             if (role.getRole().equals("user")) {
                authorities.add(new SimpleGrantedAuthority("ROLE_USER"));
            }
            if (role.getRole().equals("admin")) {
                authorities.add(new SimpleGrantedAuthority("ROLE_ADMIN"));
            }
            if (role.getRole().equals("anonymous")) {
                authorities.add(new SimpleGrantedAuthority("ROLE_ANON"));
            }
        });
Now in SecurityConfig.java, I added an antMatcher that only permits admin and users to access the log page:
.antMatchers("/api/log/getlog").hasAnyRole("ADMIN", "USER")
Therefore, when I go to the logs page, I have a cookie (for the anonymous user), but there is a message telling me that I must login.