Creating a game using JavaScript
Jupyter Notebook with basic knowledge of JavaScript
In terminal, run “wget https://raw.githubusercontent.com/lwu1822/sassy_squad/gh-pages/JSlesson.ipynb”
This is the same idea as what we have always done for our projects. JavaScript is best for web-based and mobile games because it is generally easy to comprehend.
- an interpreted scripting language so code does not need to be compiled
- instead, results are interpreted by a user’s command for example clicking and scrolling on the website. JavaScript can use that user input to perform an action accordingly.
Setting up
To have a UI (User Interface), you will need to use HTML. We can put our JS file as a script in the html by using script tags or linking a file. Script tags are fine for simple pages, but become confusing if you are doing complicated JS like a large app.
It looks like this

Where do you store the JavaScript Code?
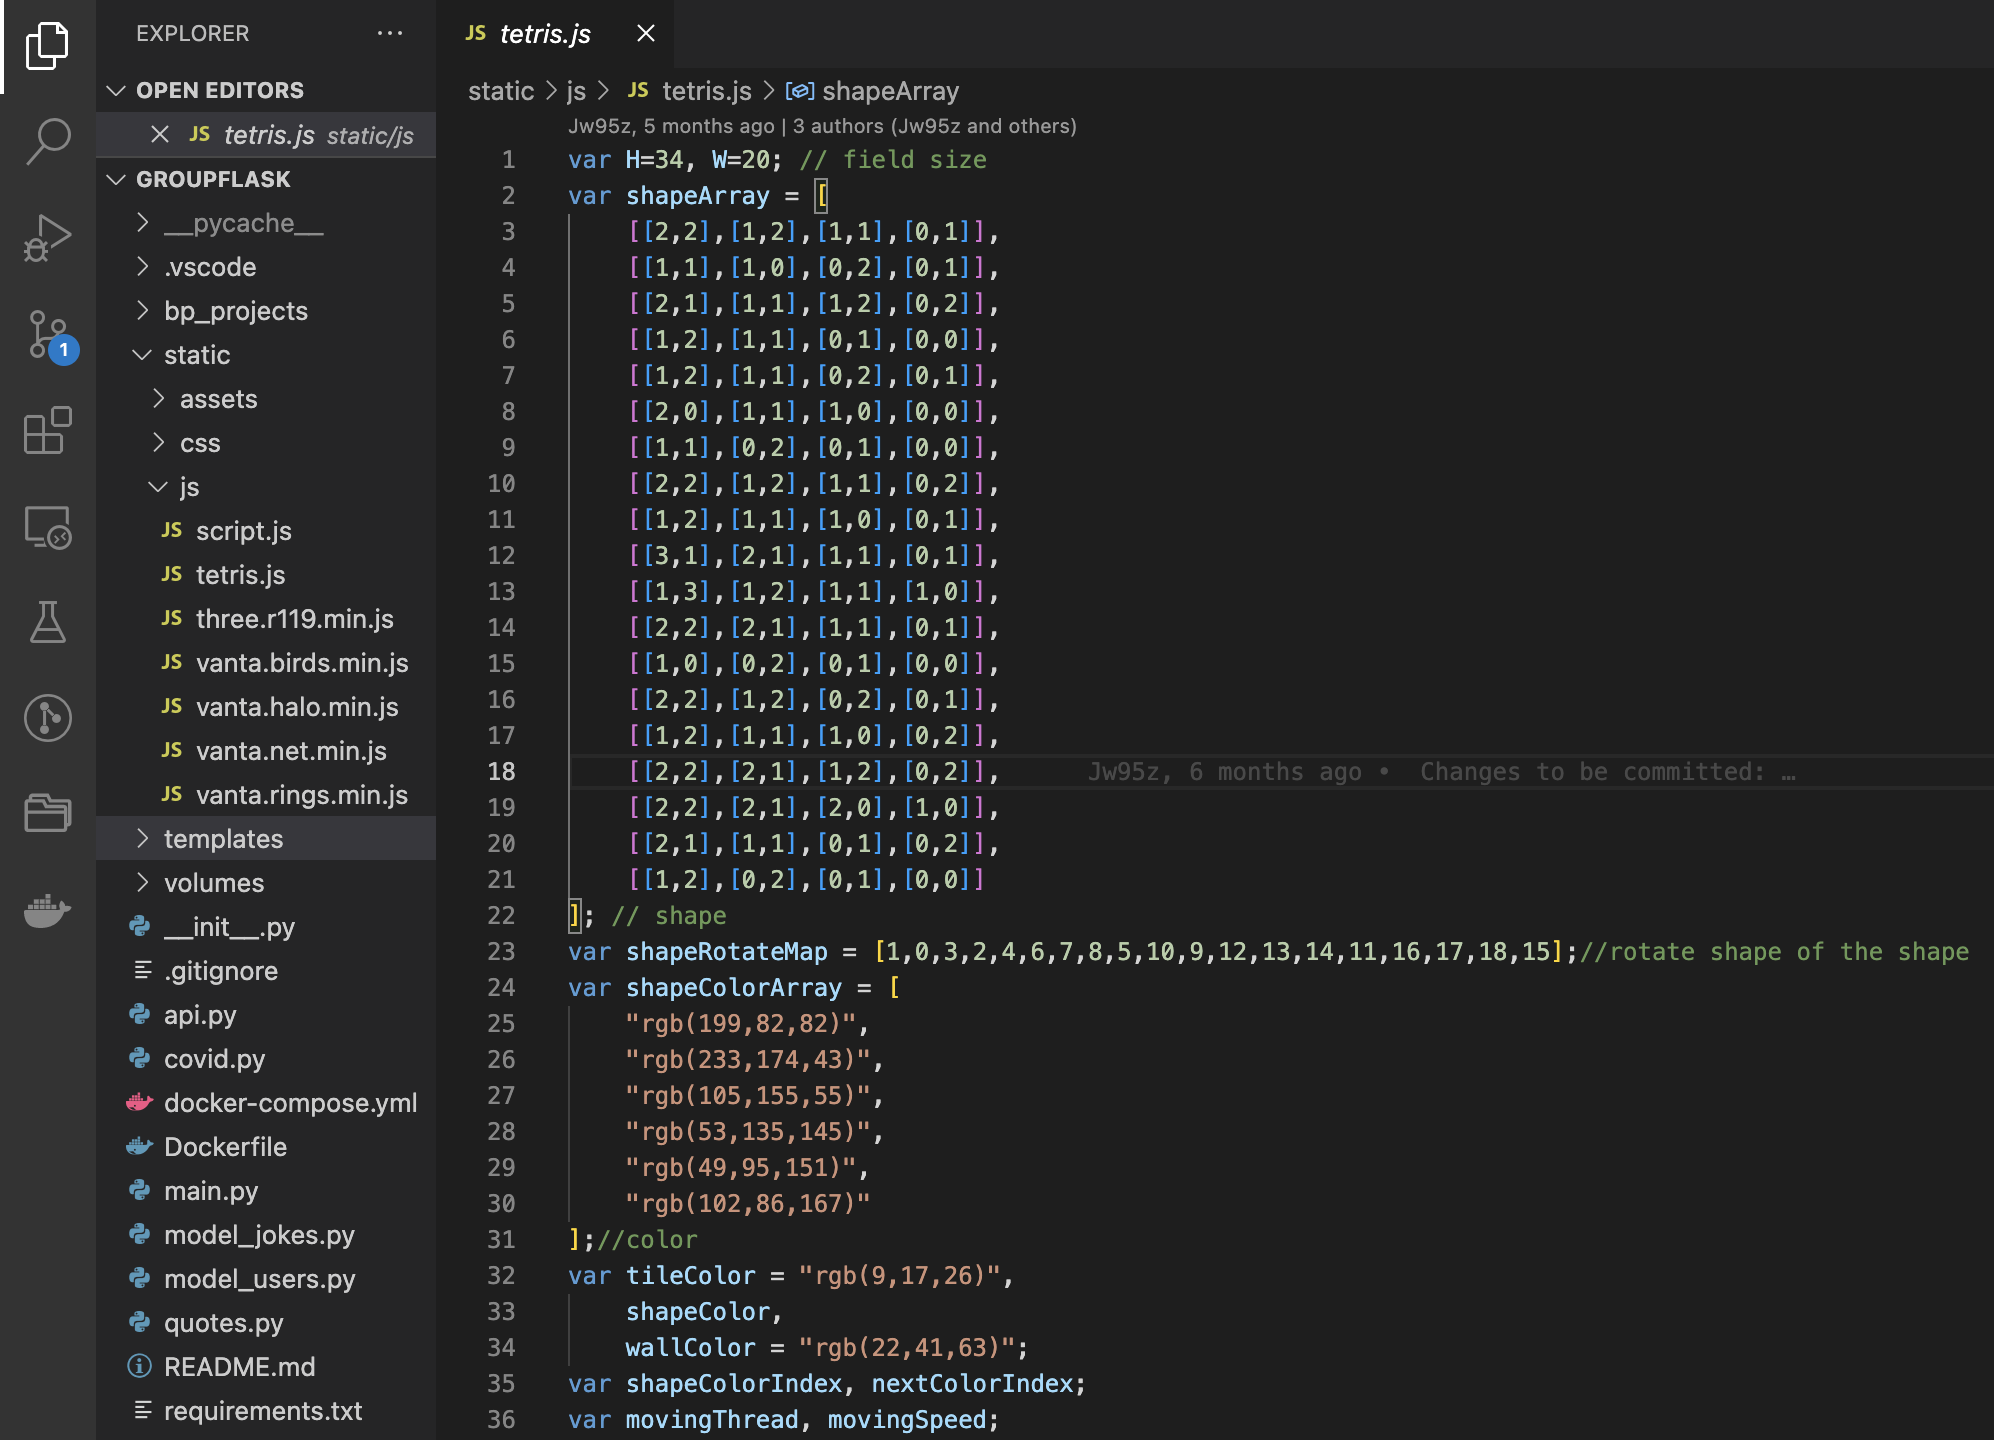
- You could have a separate JavaScript file full of your JavaScript code. The filename will end in .js
*Connect the JS file*: To point to your external JavaScript file, or connect the code to your HTML frontend, you could paste this *src Attribute* inside the body of the html.
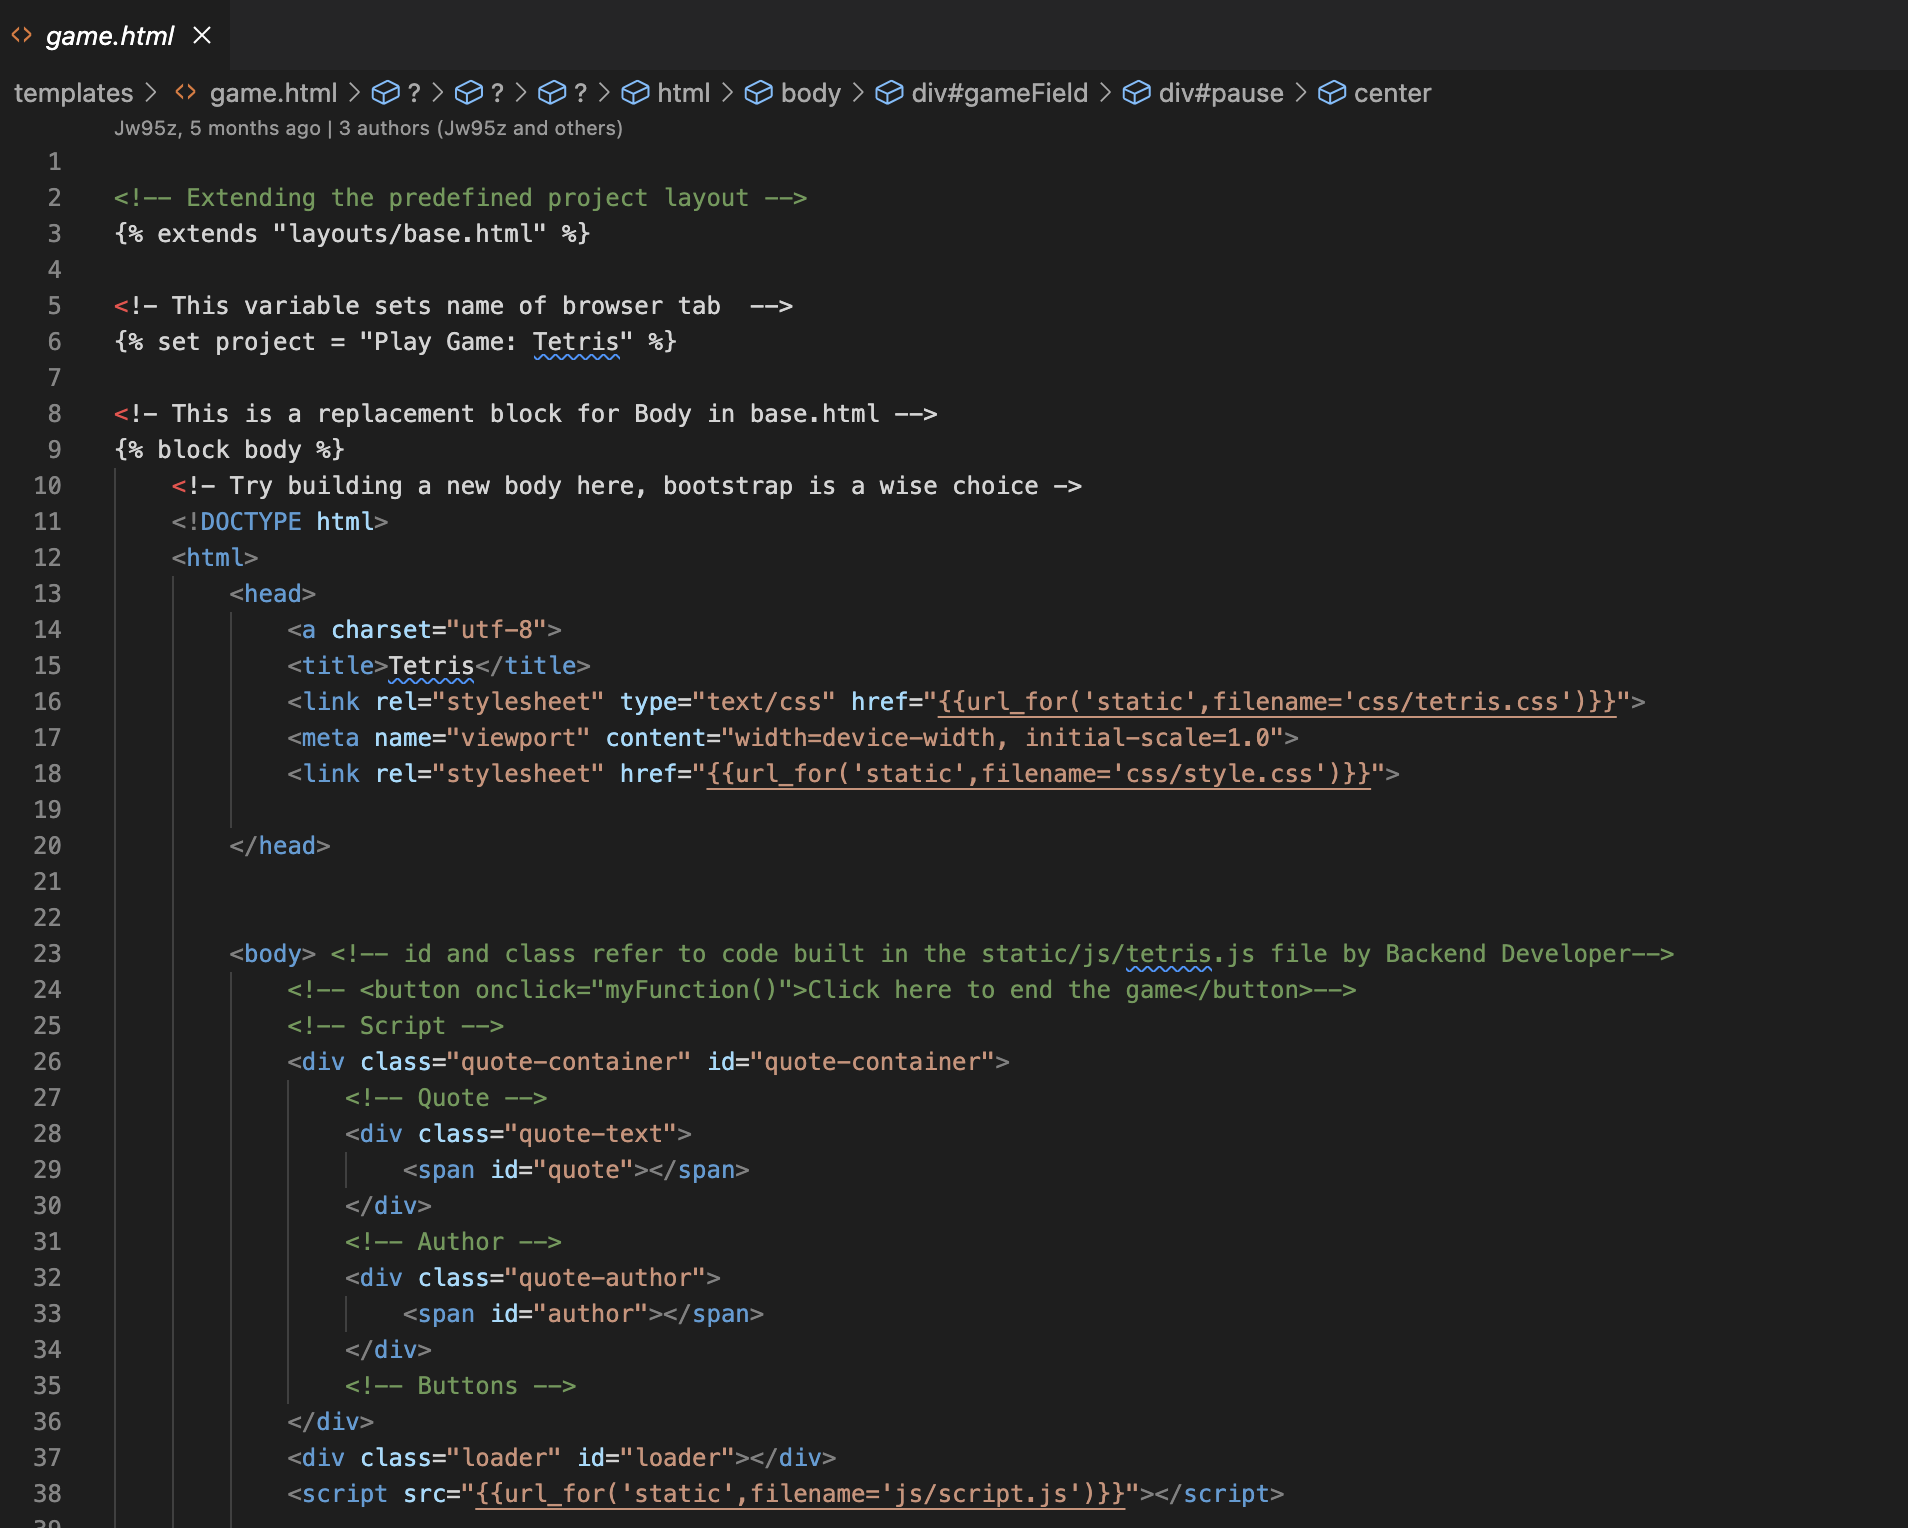
- This one is shown in line 38.

-
Alternatively, you could write all of your JavaScript code in your HTML page using a Script container.
To refer to the code you can give id’s to certain functions and then add the id tag inside of a div container or button container if the function is a button.
Where do you store the SASS Code?
-
Create a .scss file at the same root level as your index.html file, make sure the file name ends in .scss This will be your SASS file.
Connect the JS file: To import the styling that you set up in that file, import a link container with “rel=stylesheet” and “href=filename.css”. Make sure to close the link tag.
- This one is shown in line 28.
Basic JavaScript Knowledge
- Variables
- Data types
- Conditionals
- Iteration
- Functions
Creating the Memory Game
Step 1 - Create a Repository and open in your code editor
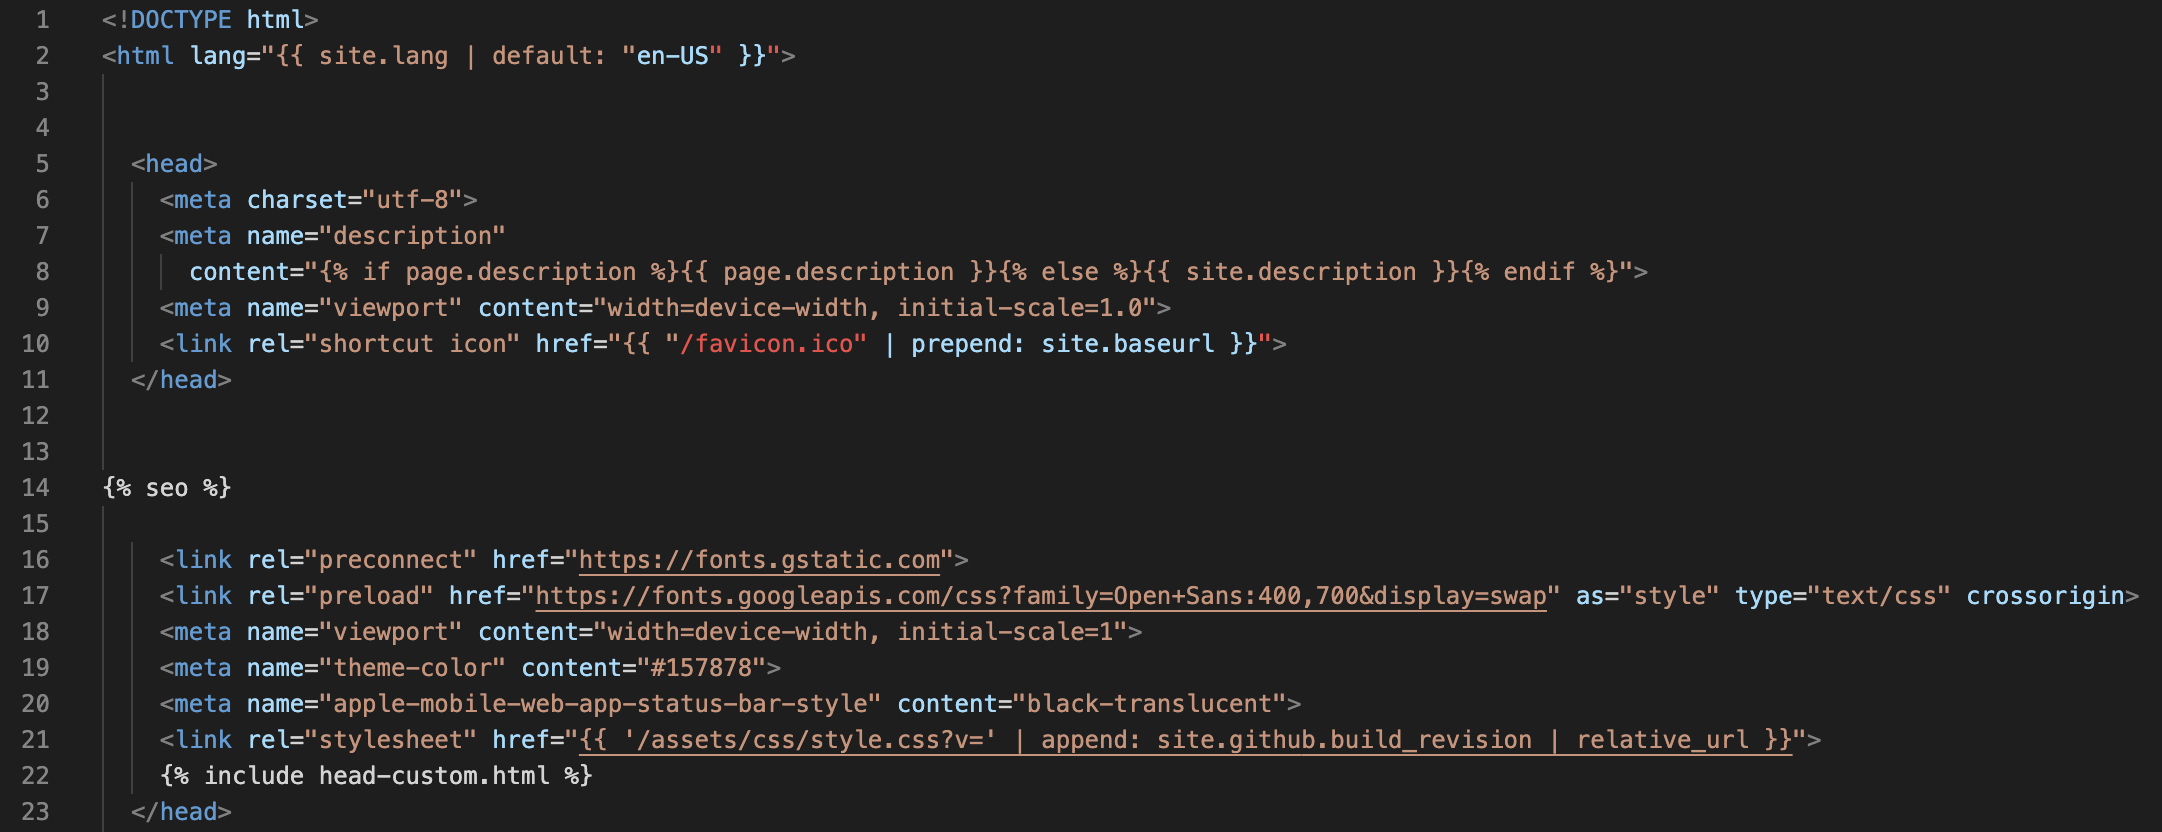
Step 2 - Set up index.html defining:
- Set the language in html tag
- Set title with a title tag and link style sheet. This should all be under a head tag.
- In the head tag add a meta tag to define your metadata.
- Under that add a title tag with the title of the game.
- Link your style.scss file and then close the head tag.
Step 3 – Set up the Board in index.html Board HTML
- Set up the body with a section tag inside with class=”memory-game”
- Indented from the section tag create a div tag with class=”memory-card”
- Indented from the div tag add an image tag (img) for each front and back face of each memory card. make sure you have a class defining front or back, src attribute for your image with the correct path. Close off the section tag
- Add a script tag linking the js file. Close the body and the html tag.
Step 4 - Setting up the Board Style Board CSS
- .memory-game container
- optional, Add a border property in the .memory-game container. It helps visualize your cards to set up heights, widths, and more
- Add width and height properties with “numberpx;”
- Add a display property with “flex;”
- Add a flex-wrap property with “wrap;” to correctly lay out the cards in the game board
- Add a margin property set to auto in the .memory-game container
- body container
- To center the board in the middle of the page, in a body container add display property with flex.
- Add a height property
- .memory-card container
- Add a border property with pixel and color details
- Add height and width properties.
- Add a margin property
- Add a position property set to relative
- Add a transform property with a scale of 1. This shows a difference when you are choosing a certain card.
- Add a transform-style property set to “preserve-3d”
- Add a transition set to “transform .5s”
- Add a box-shadow
- .front-face and .back-face container
- To align the front and back faces of the card add a position property with value absolute
- Add width and height properties 100%, to take up the whole container
- Add a border-radius property
- Add a background color
- Add a padding
- Add a position set to absolute
- Add a backface-visibility set to hidden
- .memory-card:active (for the click affect)
- Add a transform property with scale of (0.97)
- Add a transition property with “transform .2s”
- .memory-card.flip
- add a transform property set to rotateY(180deg)
* {
  padding: 0;
  margin: 0;
  box-sizing: border-box;
}

body {
  height: ___;
  display: flex;
  background: ___;
}

.memory-game {
  width: ___px;
  height: ____px;
  margin: auto;
  display: flex;
  flex-wrap: wrap;
  perspective: ____px;
}

.memory-card {
  width: calc(___% - ___px);
  height: calc(___% - ___px);
  margin: ___px;
  position: relative;
  transform: scale(1);
  transform-style: preserve-3d;
  transition: transform .5s;
  box-shadow: 1px 1px 1px rgba(0,0,0,.3);
}

.memory-card:active {
  transform: scale(0.97);
  transition: transform .2s;
}

.memory-card.flip {
  transform: rotateY(180deg);
}

.front-face,
.back-face {
  width: 100%;
  height: 100%;
  padding: ___px;
  position: absolute;
  border-radius: ___px;
  background: #___;
  backface-visibility: hidden;
}

.front-face {
  transform: rotateY(180deg);
}
Step 5 - Functions in JavaScript file
- Make a list of all memory card elements, stored in a constant.
const cards = document.querySelectorAll('.memory-card');- Set these variables
let hasFlippedCard = false;
let lockBoard = false;
let firstCard, secondCard;"- Loop through the list, and attach an event listener which looks out for a click event. When the event occurs, is clicked, the function will occur.
- Here add your flipCard, unflipCard, checkMatch, disableCards, resetBoard, and shuffle functions.
function flipCard() {
  if (lockBoard) return;
  if (this === firstCard) return;

  this.classList.add('flip');

  if (!hasFlippedCard) {
    hasFlippedCard = true;
    firstCard = this;

    return;
  }

  secondCard = this;
  checkForMatch();
}

function checkForMatch() {
  let isMatch = firstCard.dataset.framework === secondCard.dataset.framework;

  isMatch ? disableCards() : unflipCards();
}

function disableCards() {
  firstCard.removeEventListener('click', flipCard);
  secondCard.removeEventListener('click', flipCard);

  resetBoard();
}

function unflipCards() {
  lockBoard = true;

  setTimeout(() => {
    firstCard.classList.remove('flip');
    secondCard.classList.remove('flip');

    resetBoard();
  }, 1500);
}

function resetBoard() {
  [hasFlippedCard, lockBoard] = [false, false];
  [firstCard, secondCard] = [null, null];
}

(function shuffle() {
  cards.forEach(card => {
    let randomPos = Math.floor(Math.random() * 12);
    card.style.order = randomPos;
  });
})();

cards.forEach(card => card.addEventListener('click', flipCard));